My pretty shirts adventure has progressed slowly and turned out to be very frustrating. 
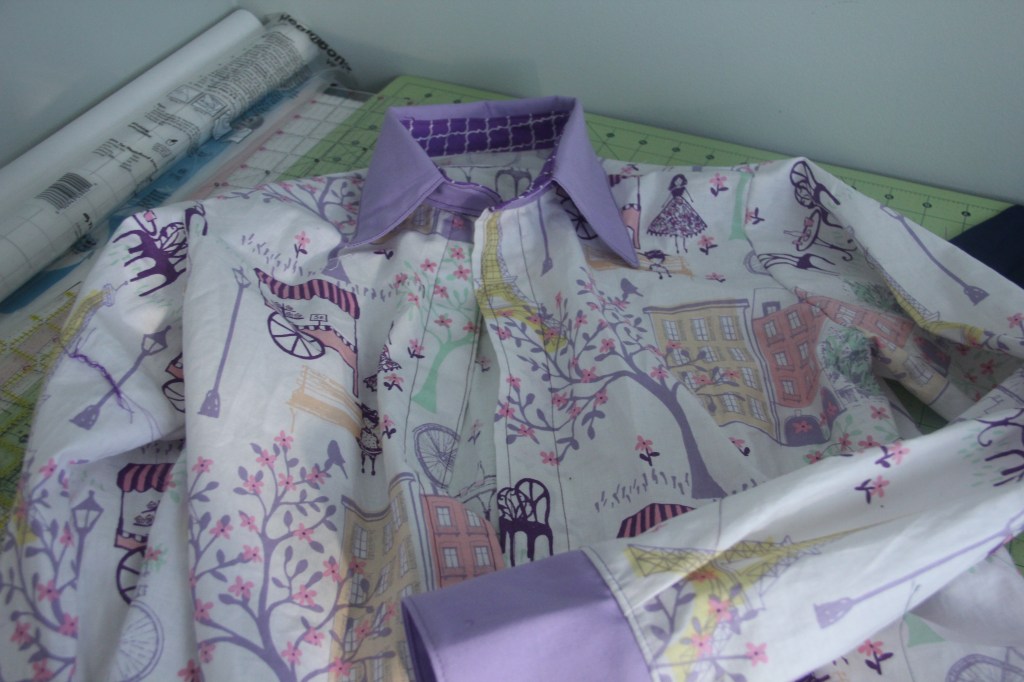
I purchased some cheerful fabric at Walmart for a steal to make another “practice shirt”. I have been working on it (not consistently) for over two months and I finally decided last night, that it was time to LET IT GO!! So I took pictures of it, just to have proof that I tried, and then I trashed it.

So today, I am fed up with sewing. I know however, that failed projects are a part of the process, and this Pretty Shirts story is not over, so I have attempted to compile my experience into a lesson learned and motivate myself to tackle sewing a new pretty shirt with some nice oxford fabric that I previously purchased. Here are the things I learned:
- Pay attention to buttonhole and button locations early. Once I attached the cuff to my sleeve, I wasn’t able to sew a neat button hole. The “bump”, or thickness of fabric at the cuff seam line made it hard for my buttonhole foot to move across the fabric without interfering with the feed. Next time, I will sew my buttonholes on my cuff before I attach it to the sleeve.

- Be consistent with sewing time. This may not be good advice for everyone, but for me, stopping and starting my project “when I had time”made it difficult to complete. I couldn’t sustain the level of intensity and focus that I need when sewing, to finish. Next time, I will block out time for sewing.
- Pay attention to detail.What really makes clothes stand out is the details. I wanted slanted buttonholes on the sleeves and finished seams on the inside. Next time before I start construction, I will cut my bias strips and contrasting pieces first, so the detailing won’t be an afterthought. I will also carefully calculate their width based on my seam allowances, measure and cut them.
- Iron, Iron, Iron. Need I say more? My bias strips and sleeve plackets looked a lot sharper when I ironed them before sewing.

So here is an update to my earlier posted Pretty Shirts Plan of Action..
- Make a schedule, and stick to it. For example, here is mine

- Cut and iron the bias strips, sleeve plackets and contrasting collar pieces when cutting the shirt pieces for construction.
- Iron and sew the sleeves
- Iron and sew the collar
- Iron and sew the bodice Iron and sew the collar to the bodice
- Iron and sew the pockets, and buttons on the bodice
- Attach the sleeves to the bodice and use bias tape to finish inside seams.
I will keep you abreast of my progress.


Leave a comment