Its Halloween!
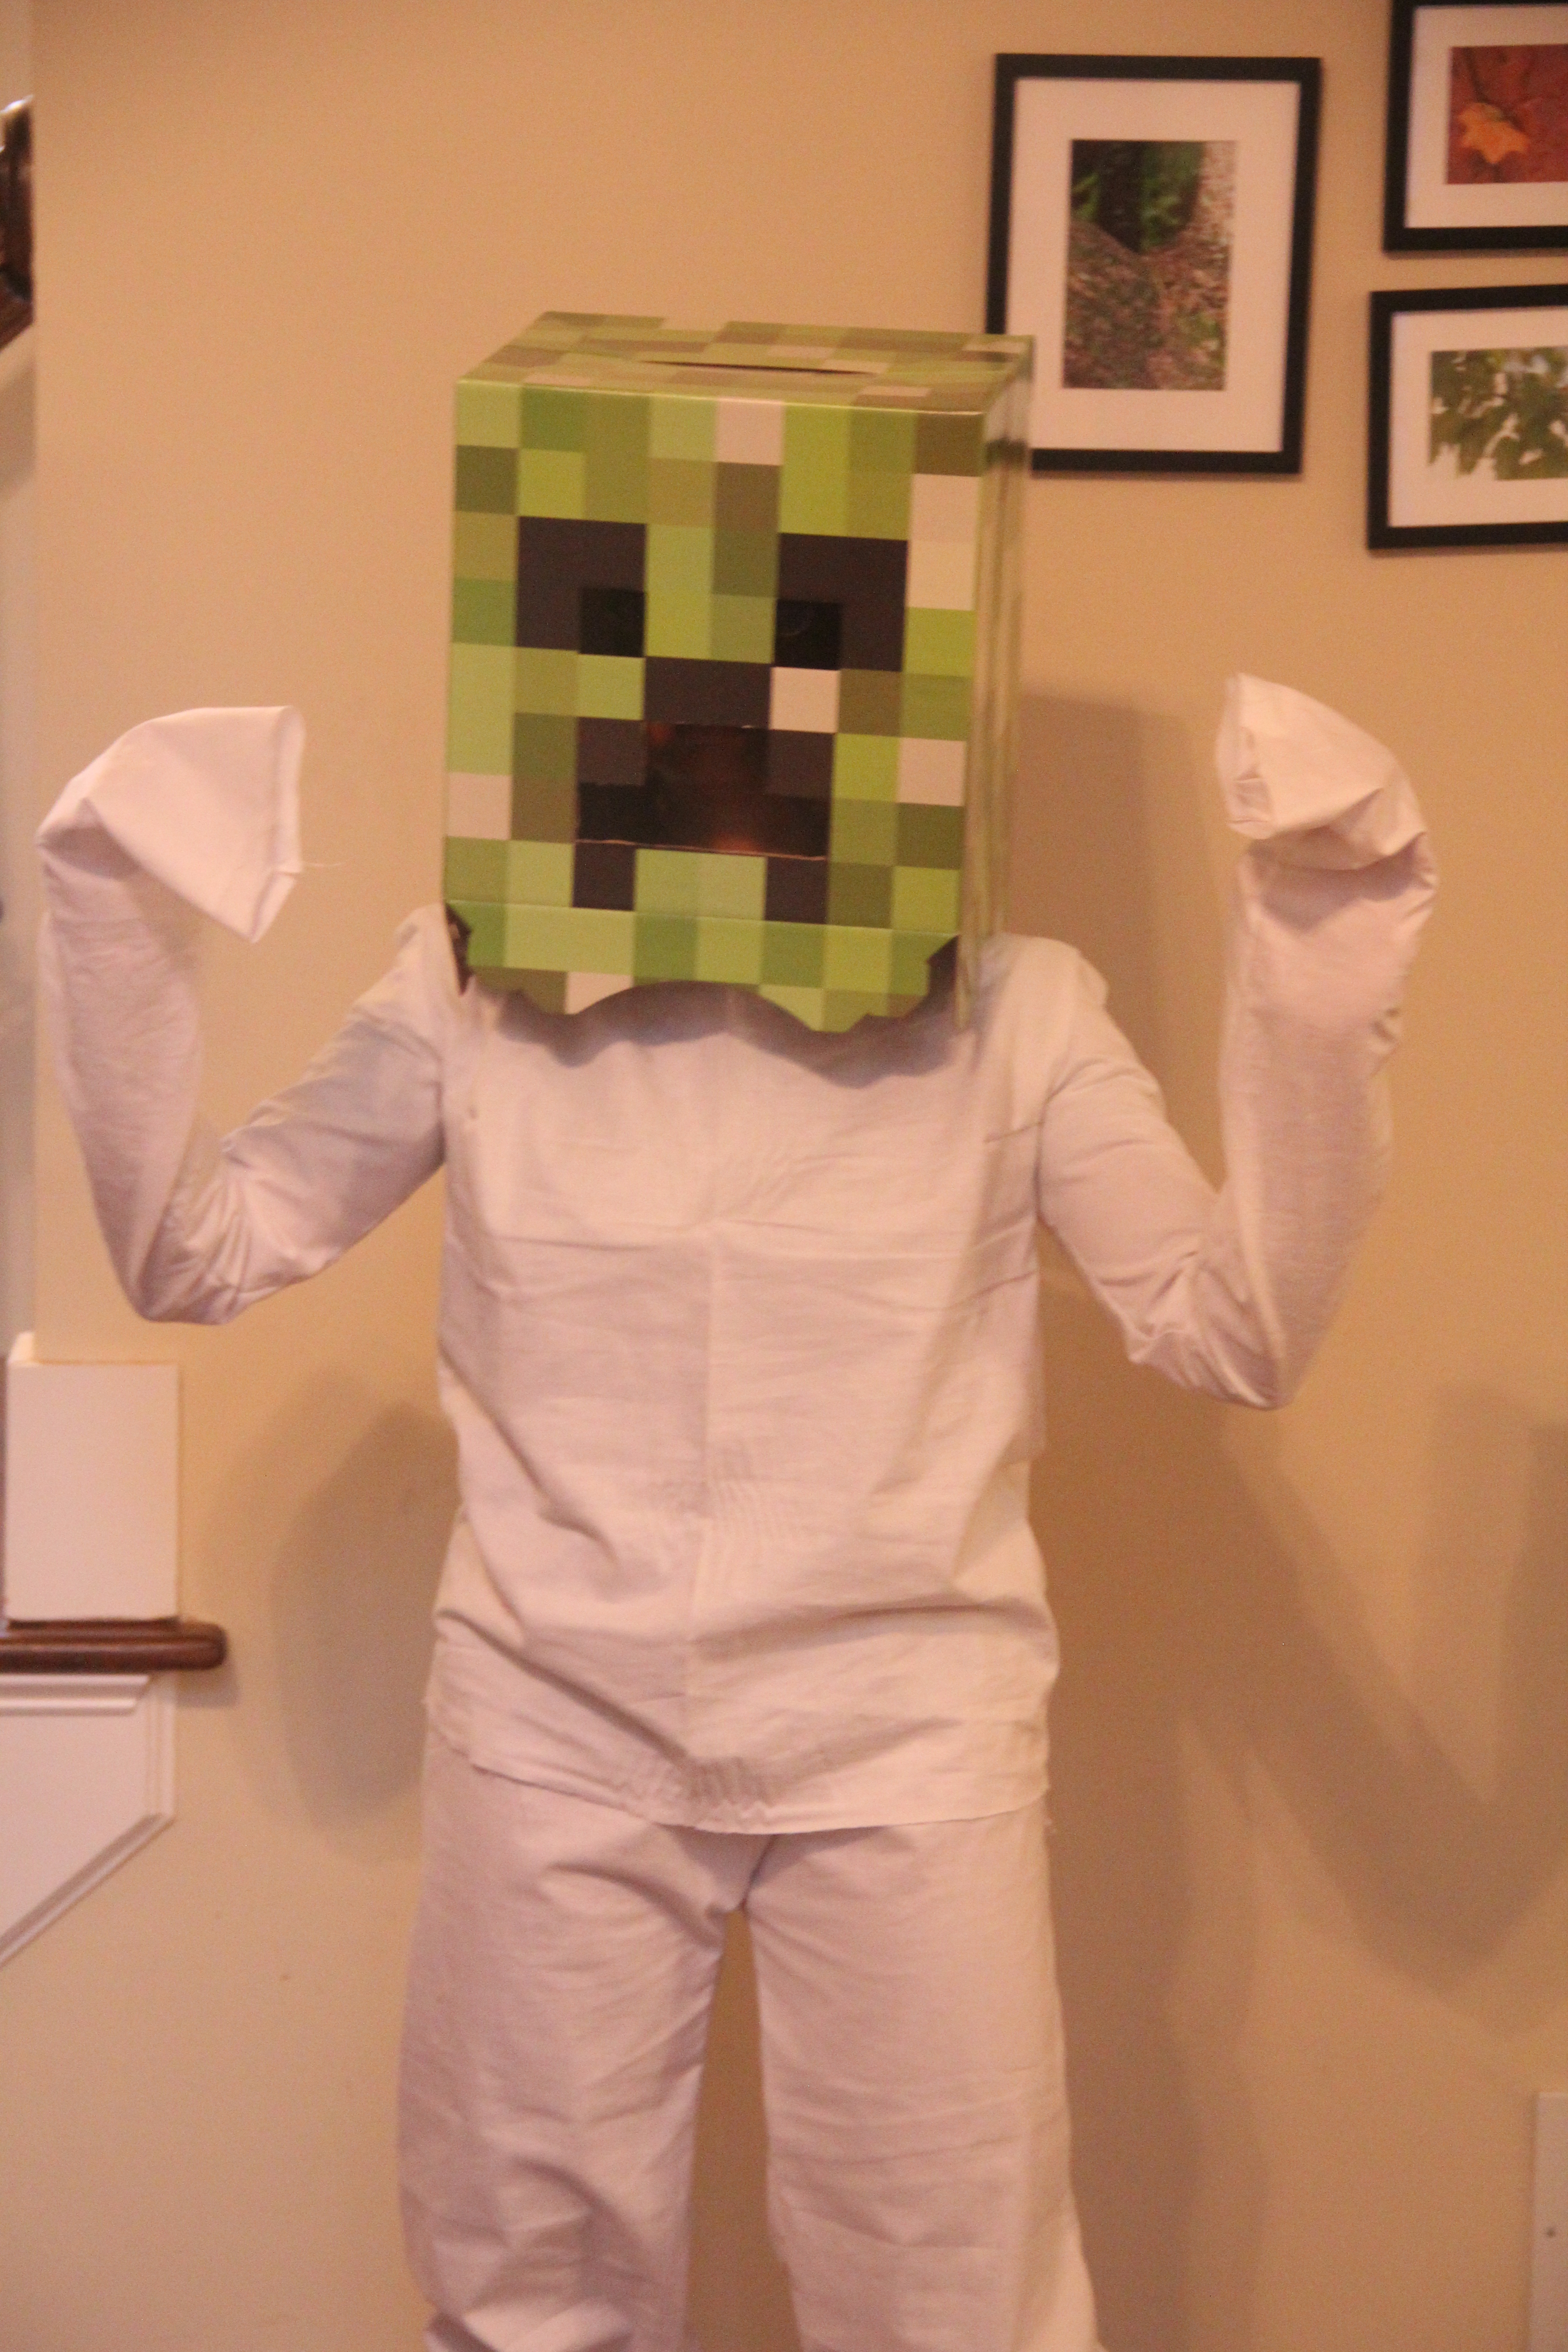
I took that glow in the dark fabric and got busyyy!!. I made some pants with an elastic waistband and a long sleeve tunic and turned myself into a creeper.
The construction was pretty basic. I used some pajama pants that I already had as a basis for my pants pattern.
This is a fairly easy project. Fold fabric, trace front and back pieces, sew together, attach waistband, BAM. Done. Well I am going to spend a little more time on some of the hiccups that I ran into.
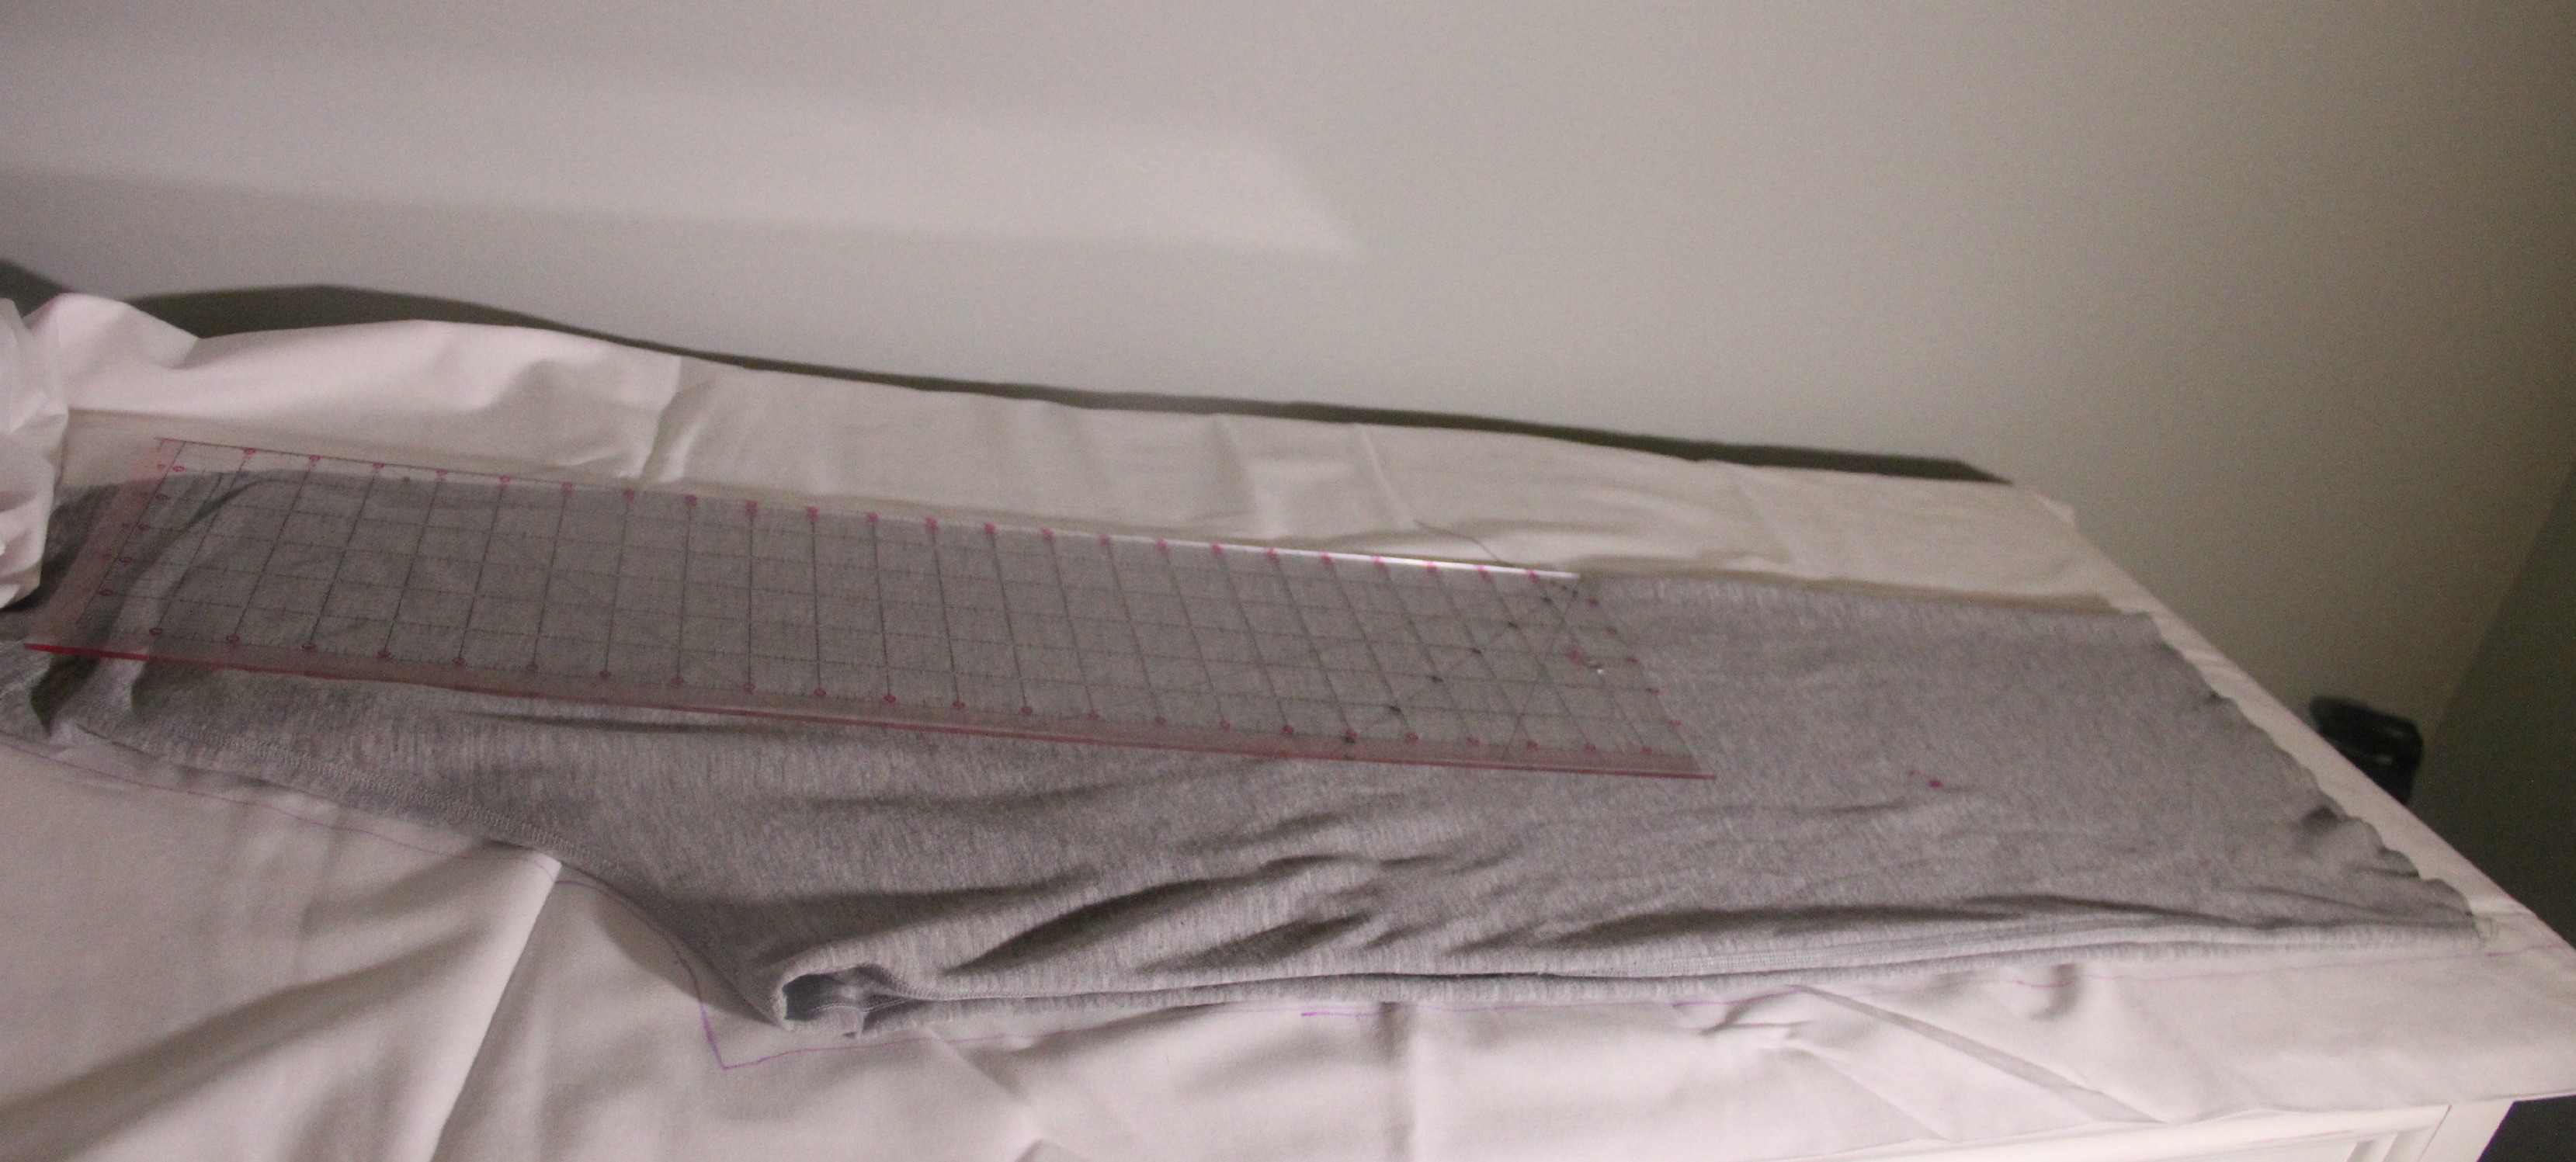
Like I said, it was easy to trace the pants, but I always have a little trouble distinguishing the front from the back pieces. My first thought is that the back pieces have the extra fabric for the booty and crotch, but I like my front pieces to not have that extra fabric. 
I think that they used identical front and back pieces on the pair that I am tracing. I don’t particularly like it, because it makes it hard to distinguish between the front and back of the pants when I am sewing them together. So when I cut the front pieces, I cut a straight seam, in the direction of the arrow shown below.
 I also label my front and back pieces in water soluble ink with a “F” and “B”. This helps me to not sew the wrong pieces together.
Next is the tricky part. I am telling you this from experience, because this is where I always screw up.
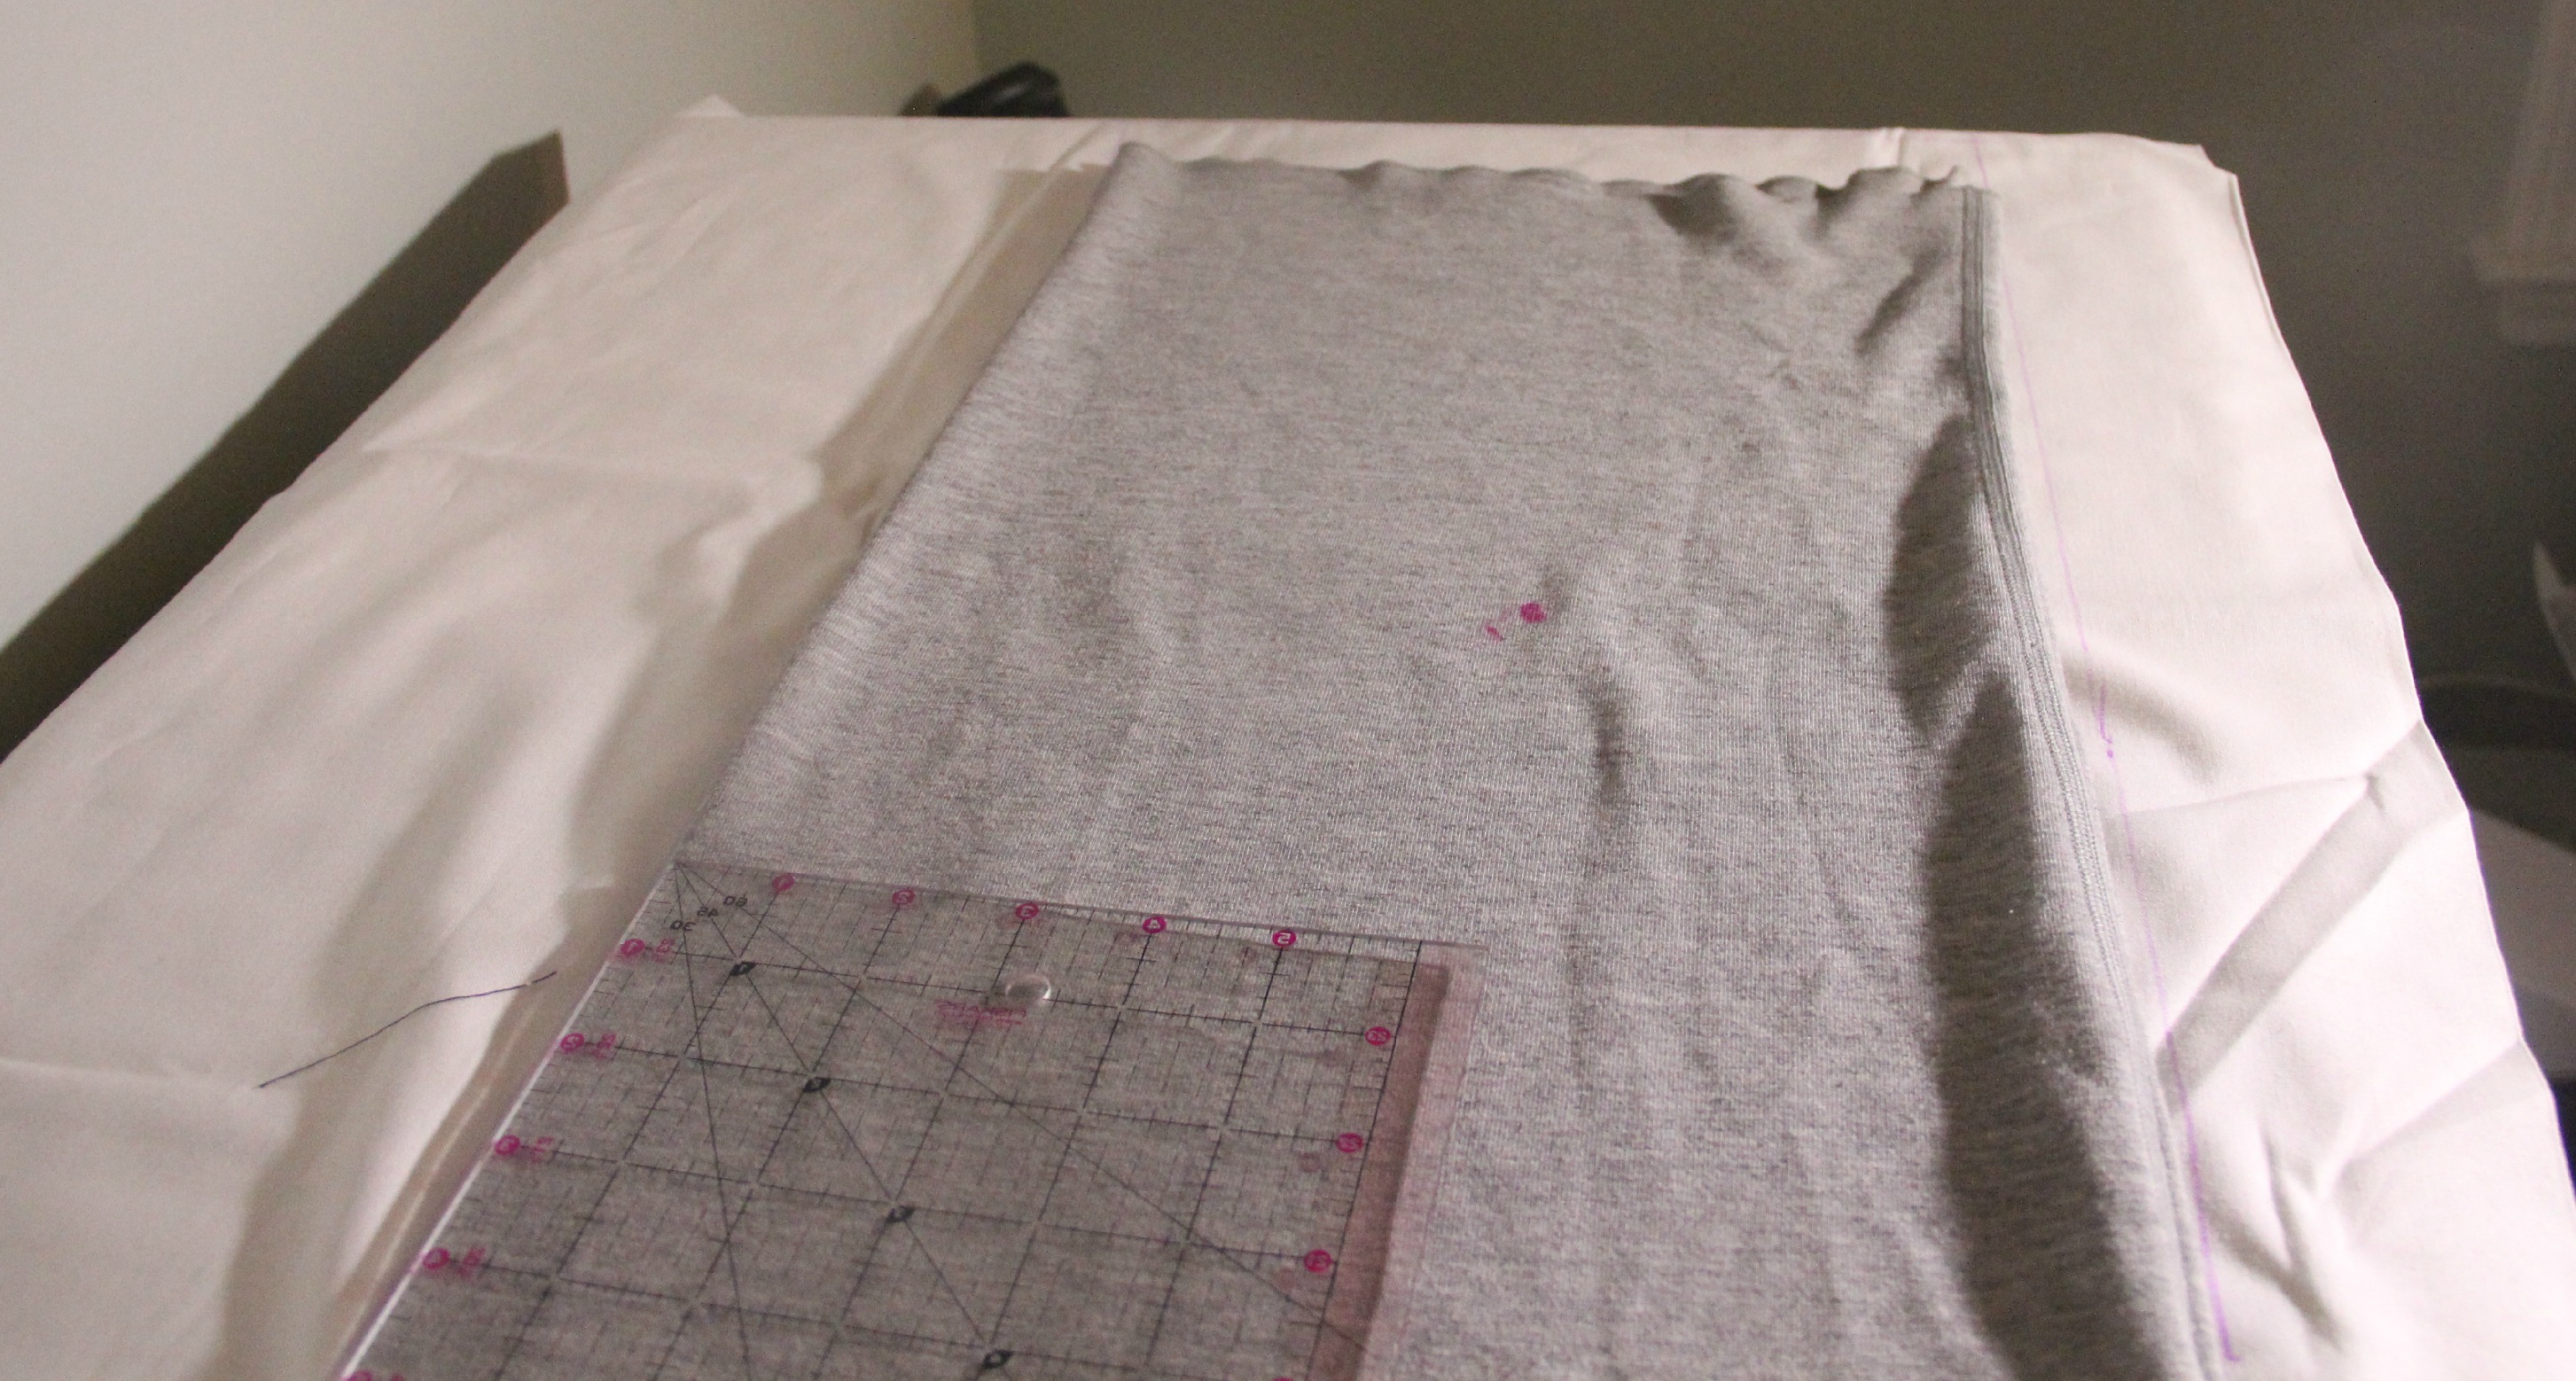
Since these are pull on pants, you have to fit them over your hips and butt. Measure your hips and butt. Make sure that the total perimeter of all of the top edges of your pants (4pieces-two fronts and two backs) that attaches to the waistband of your 2 front and back pieces add up greater than this measurement.
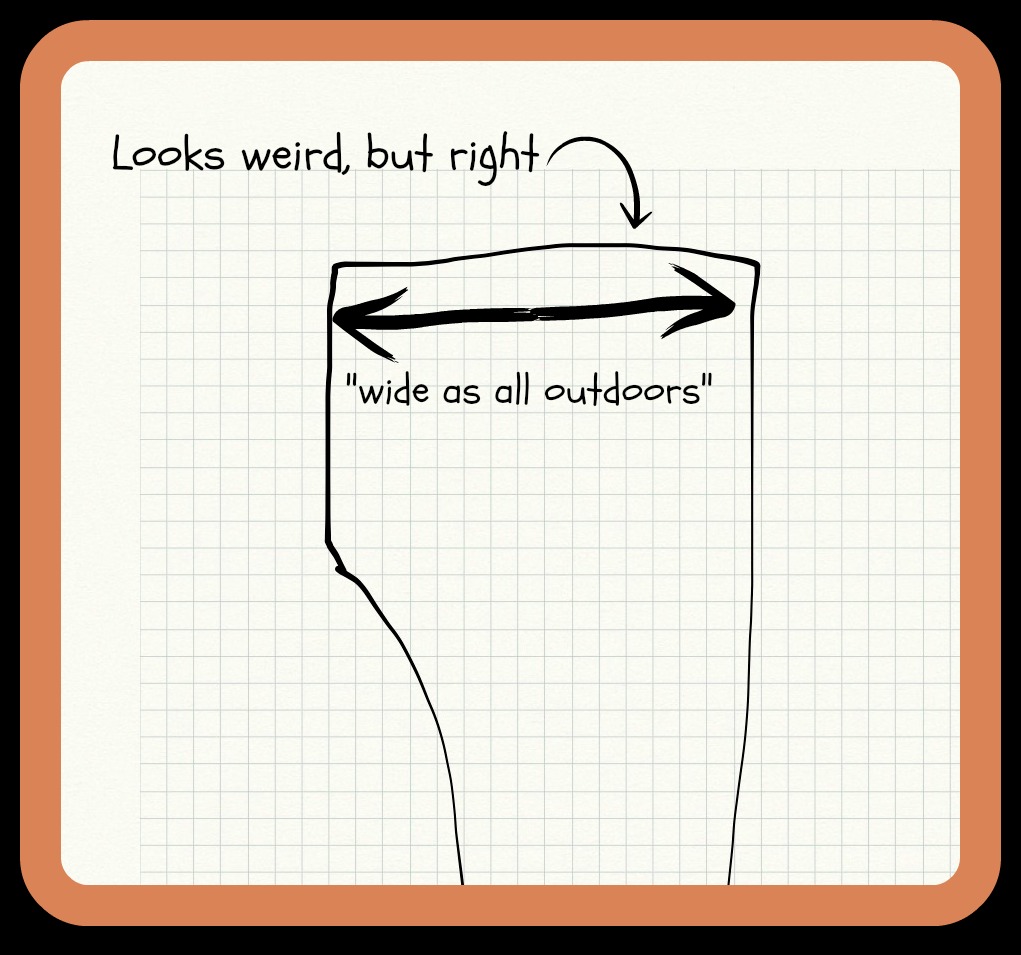
Here’s what I did. When I first cut my pant pieces. I traced it aIong the exact line of the pants. What’s wrong with that you ask? Well, if you do that, you may not be able to pull the pants past your hips. Think about this. Your finished tracing pants already have the waist band attached. You need enough fabric to pull past your hips. Cutting your fabric to the final line of your model pants, will mean there is no extra fabric to gather with the elastic at the waist. When I just traced the finished line of my pants as shown, the perimeter of the top of the cut pieces equaled approximately my waist measurement, and less than my hips, and voila, I couldn’t get the pants on. Duh!
So when you trace your fabric from your model pants, make sure the waist portion looks like this…… and not this…….
It’s also a goo idea to add a little hip rise in the back to accommodate those of us who are well endowed in the back. 
I added about 1.5 inches, and it was barely enough. I would go with about 2″
Now, moving on to the waistband… Its simple. Kind of. Since I will be sewing elastic pants, I begin with measuring my waistband elastic. Do not sew the elastic’s ends together yet. Fasten a safety pin on the end of the elastic so you can thread it through the waistband after you complete it.
Now, moving on. Here is a cool trick I learned. To gather the fabric in preparation for the elastic waistband, I used elastic thread. I purchased some a few months back in anticipation of a great project I was planning to sew, but never did. I gave up because I couldn’t thread the elastic thread through the eye of my sewing needle. (Stop. I can see the look on your face) Well, later I read somewhere in a very informative blog, that you use the elastic thread in the bobbin. OHHHHH!!!! So here is my trick: to gather the fabric for the waistband, use elastic thread in the bobbin. Be sure to leave a long line of trailing thread after sewing.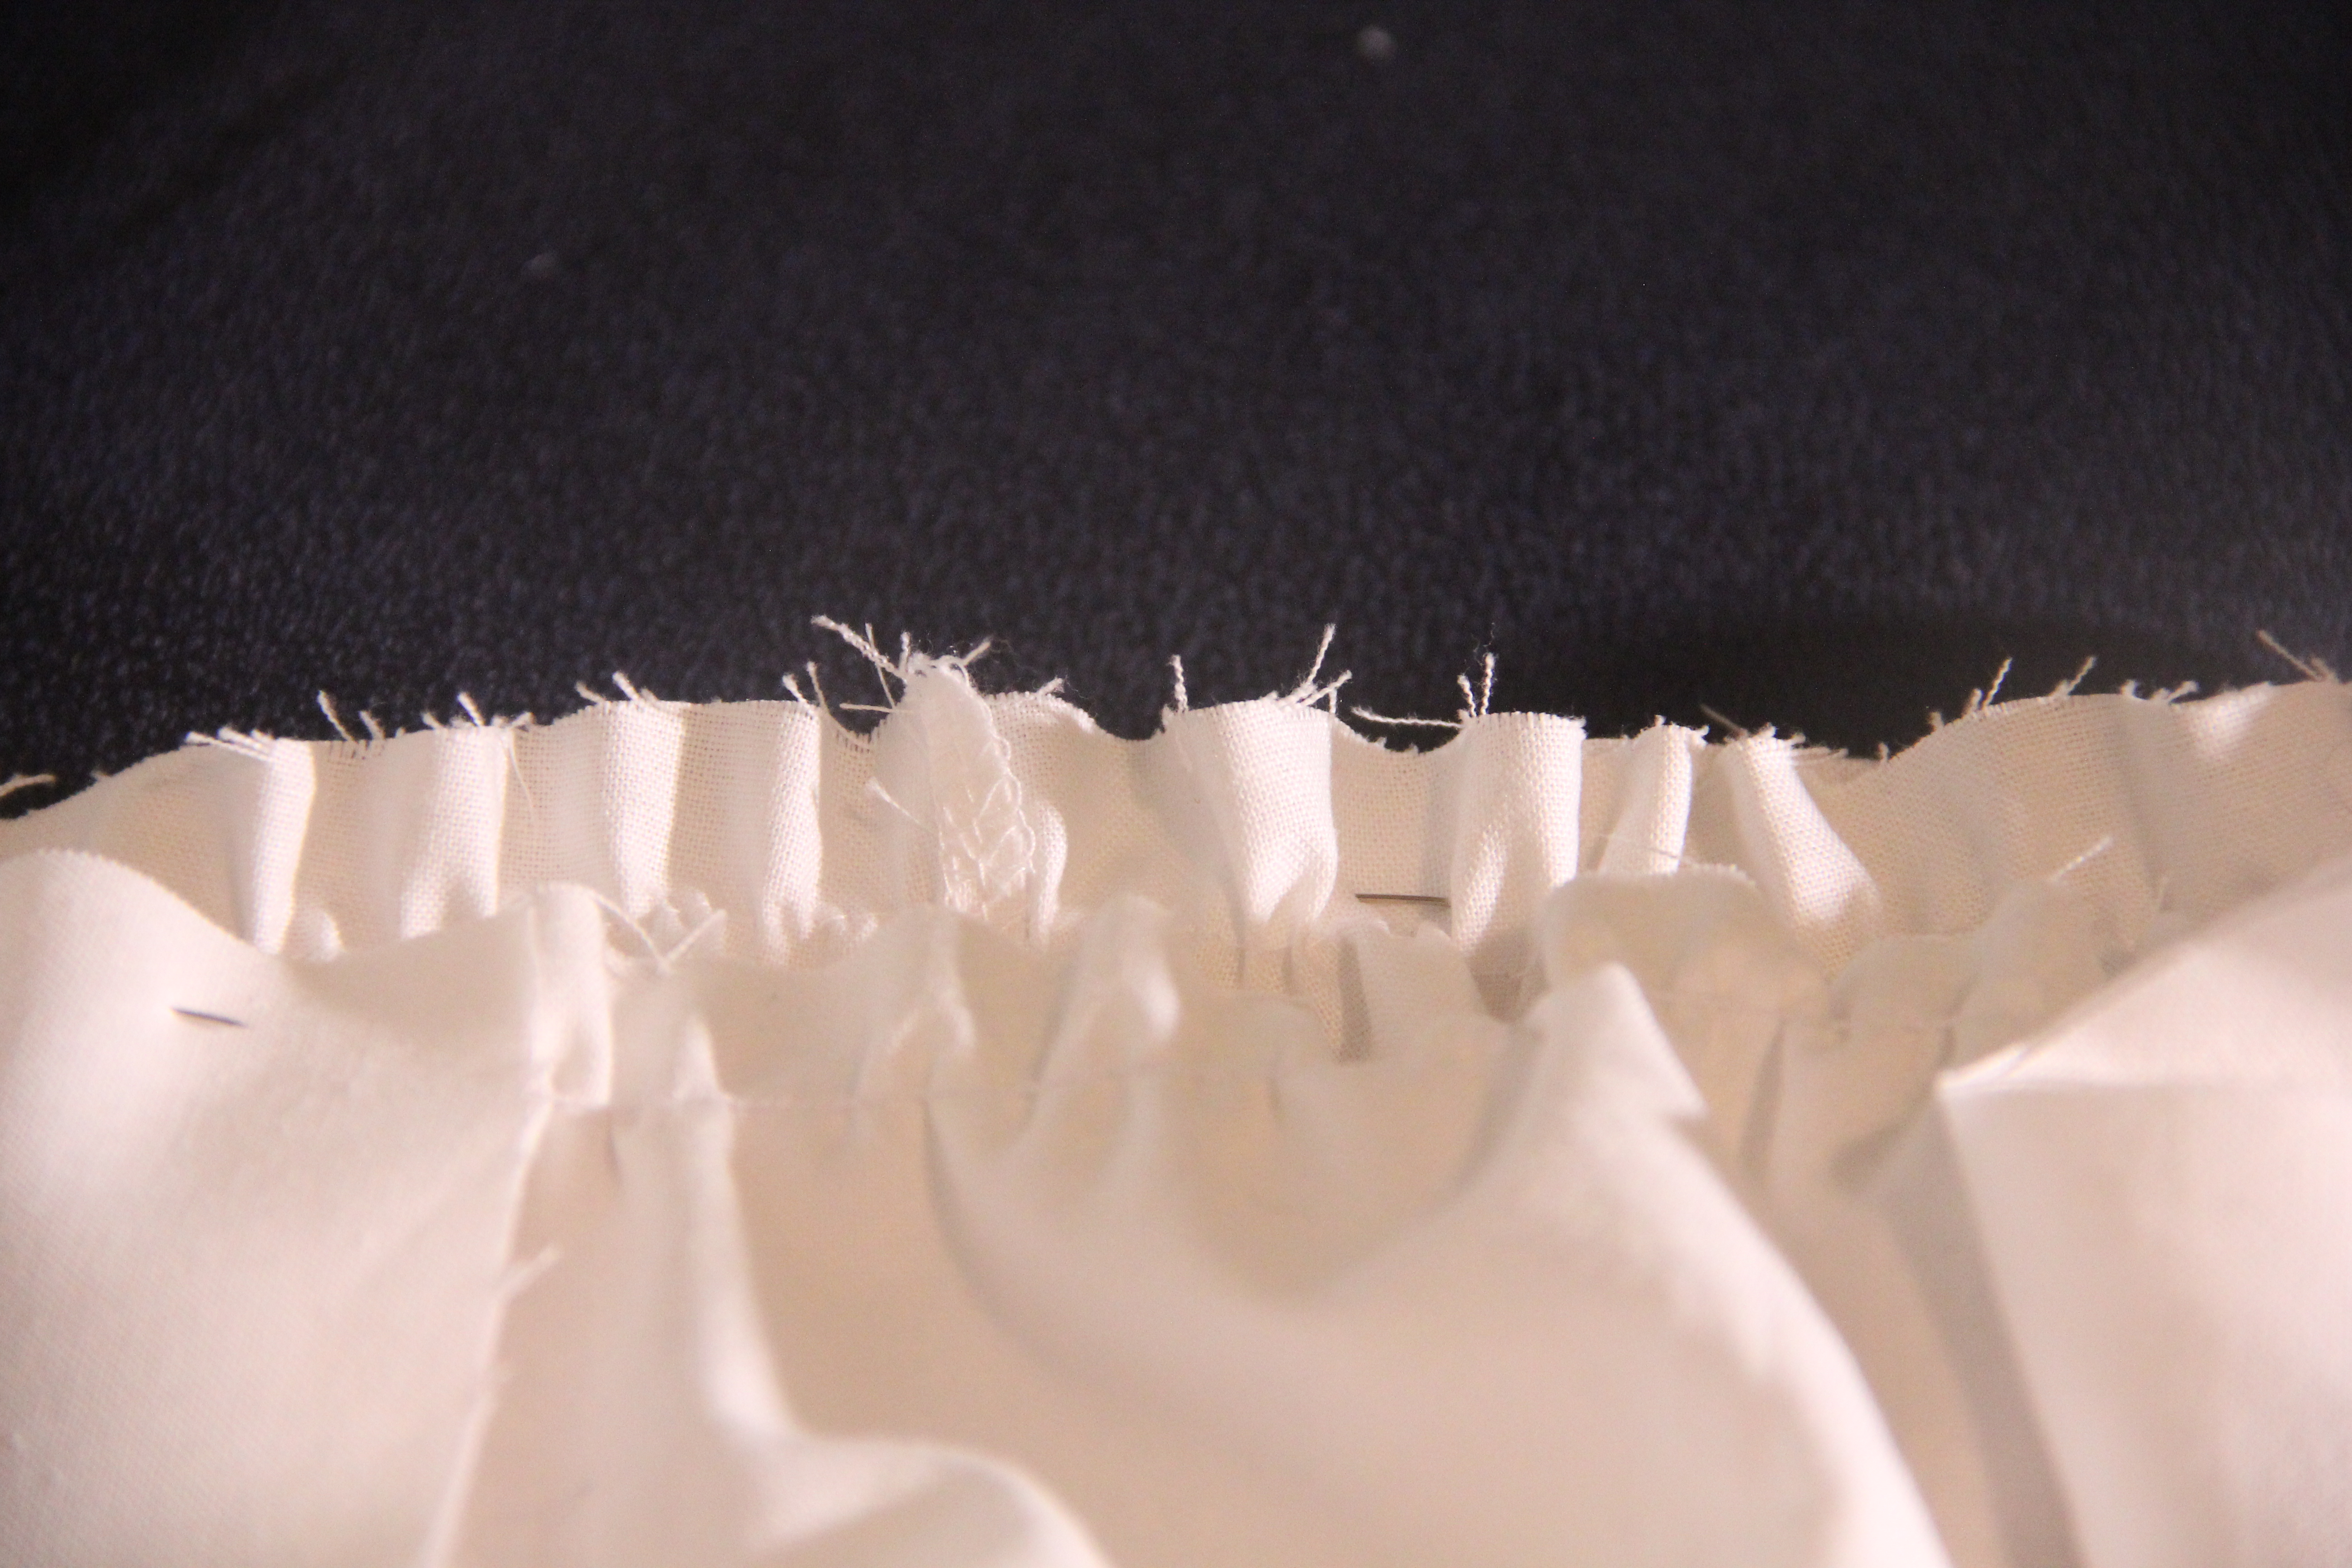
See how nice it gathers?
Next is cutting the waistband. It is the most straightforward of all. You measure your waist, Noooo! That’s what I did, and believe me, it won’t work. These are elastic pants, your waistband should fit over your hips. So for the waistband length, measure your hips and and add an inch for ease. For the waistband width, you can do whatever you like. I wanted a 2″ wide waistband, so I cut a strip of 5″ width. That is a 2″ waistband folded in half with a 1/2 inch seam allowance on each side. 2.5″ + 2.5″= 5″
Next, after you cut your waistband, fold it in half, wrong sides together, and then pin the seam allowance to your pants. I always align my waistband so that the seam will be at the midpoint of either the front or back seam. Now, let me take you back. Remember that trailing thread that you left after using the elastic thread in the bobbin? Use it to adjust your gathers when you pin your waistband on. This takes trial and error, gently pull the trailing thread and adjust the gathers to distribute them evenly. After you finish pinning, sew the waistband onto the pants.
And now for the grand finale… at the inside seam of the waistband, use a seam ripper and rip the inside seam open wide enough to fit the elastic band with the safety pin through. Thread the elastic all the way around the waistband. When it daylights from on other side of the seam, stretch the elastic, and sew it together with a zig zag stitch. Before you stitch, make sure the elastic isn’t twisted. Then insert the elastic into the waistband and hand stitch the insertion hole back up along the seam line. BLOOP.
Creeper! or whatever.


Leave a comment